Using a double tracing wheel
- MingMakes

- May 2, 2021
- 3 min read
Updated: Jul 21, 2022

In this post, I talk about why and how to use a double tracing wheel. Here's a video to demonstrate, followed by the same explanation in an article with photos.
Why use one?
I’ve reached the last pattern in the Love At First Stitch book, the Lilou dress. I’m making a toile of the bodice to assess the fit, as well as wanting to change the neckline.

The dress is sleeveless and so I want to see where the armhole would lie on the finished garment in case it needs adjustment. This requires me to trim off the seam allowance which can fairly easily be done by going round with a ruler and marking several points 15mm away from the edge, but there is a much easier and more accurate way to do this using the Clover double tracing wheel and dressmakers carbon or transfer paper.
A double tracing wheel can also be used to mark seam allowances or stitching lines, so for example you can easily change a seam allowance to make it narrower or wider, or mark a stitching line to follow for accuracy, or if you’re copying a ready-to-wear item and need to add seam allowances.
Clover double tracing wheel
The Clover tracing wheel comes in the packet like this:
You take out the wheels and position them where you want, turning them 90 degrees for use.
You can put them in increments of 5mm apart so 5, 10, 15 all the way up to 30mm.

You can also use it to mark a single line by only turning one of the wheels. You can remove the unused wheel but there’s a good chance you might lose it. The wheels are serrated so will mark a dotted line.

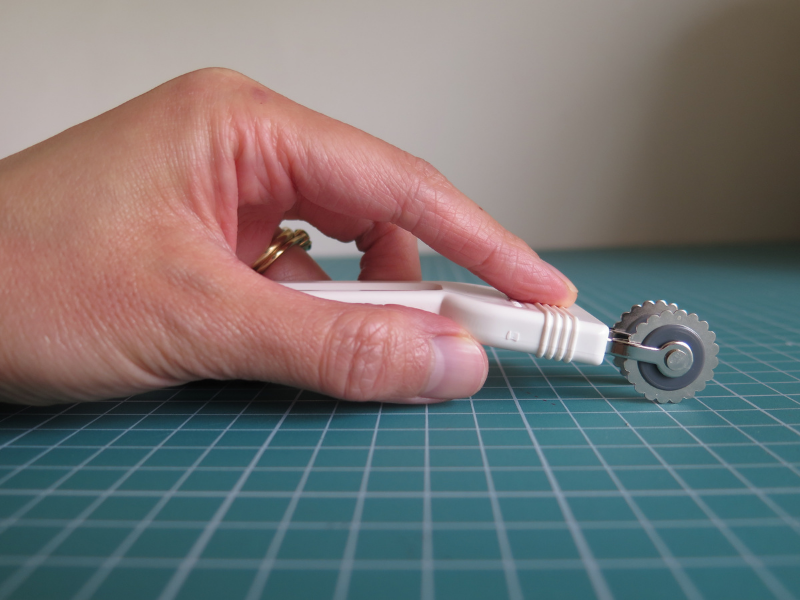
It has an angled handle to make the grip more comfortable.
Tutorial - Using a double tracing wheel to cut off a seam allowance
I am cutting the seam allowance off around the armhole of a sleeveless dress toile as I want to see where the armhole will lie on the finished garment
Step 1 - Layer your transfer paper and fabric
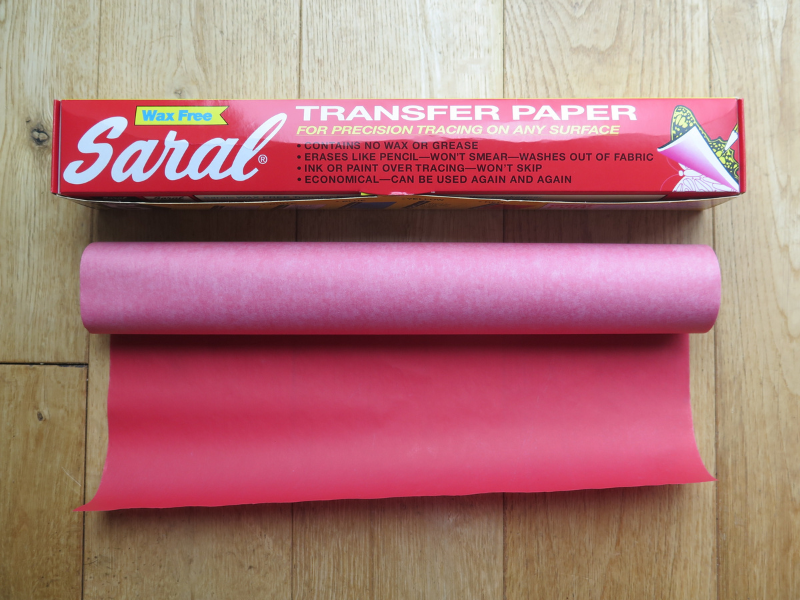
I am using Saral Transfer Paper which was originally developed for artists but I find it works really well on fabric and gives a good clear line. It’s wax free, the lines can be washed out and won’t be set by a hot iron. It comes on a 12 foot roll which you can cut up and comes in several colours.
Place the transfer paper down with the darker marking side up and then place the piece you want to mark on top. I am using one of the back pieces of the bodice. Put the wrong side of fabric against the transfer paper or whichever side you want to mark. If you’re marking two layers of fabric, pin the layers of fabric together keeping the seams clear and insert sheets of transfer paper between the layers.

Step 2 - Set the distance on your tracing wheel
For the Lilou dress, the seam allowance is 15mm so I will set the wheels at this distance.

Step 3 - Trace round with the wheel
Trace round making sure the outer wheel runs along the edge of the fabric, the inner wheel is automatically going to mark 15mm inside this.

The dotted line can be seen on turning the fabric over.

Step 4 - Cut along the dotted line
Simply cut along the line to trim off the seam allowance.
You can also use this technique for cutting off the seam allowance to assess a neckline.

Find me on Instagram, Facebook,Bloglovin' or scroll to the bottom to subscribe to my newsletter which is published every month or so.
Links
I have no affiliations, I'm just a keen buyer and user. A UK supplier may be linked, please try to source items from your favourite independent stores.


I've found that this Clover tool has wobbly wheels which make for inaccurate markings. Have you any tips to remedy this problem?