
Heather Blazer
- MingMakes

- Jun 5, 2023
- 7 min read
Updated: Jun 23, 2023
I booked the Classic Blazer workshop with Claire Tyler several months in advance, having never sewn anything this complex before. In between, I did end up taking a Sienna Maker Jacket online course with Lynda Maynard which was a great precursor, and certainly helped with my understanding of some of the construction. I knew I would learn even more being able to sew this in the presence of a tutor, since Lynda’s course was online with instructional videos with the sewing being done individually between classes. It's always useful to see someone else's hints, tips and techniques.

You can choose any blazer pattern for the workshop, and I chose the Heather Blazer by the Friday Pattern Company. This post is about the pattern and construction. I have a separate post here about the workshop itself with lots of information about the course, sewing room, facilities and location.

Fit
Having just sewn the Sienna Jacket, I compared the finished garment measurements and found that they matched the XS size of the Heather Blazer most closely, even though my own body measurements put me at size M. This is due to the design being an oversized blazer, but I didn't want it too loose-fitting so stuck with the XS. It feels a little more snug with the lining, but I'd wear it with a lighter layer underneath anyway.
I did an upper and lower rounded back adjustment which got rid of the back armhole gaping. I also reduced the sleeve at the back armhole due to excess fabric here during construction. You can read about my fitting process with lots of photos of my toiles in this separate blog post (4 mins).

Fabric
I used two fabrics from a haul while on holiday in Kuala Lumpur, Malaysia, visiting the Jakel Mall. The main fabric was an ivory herringbone linen and the lining a pale blue polka dot cotton. With this being my first jacket lining, I kept it simple by not using a slippery fabric but felt it was smooth enough to do the job. As usual, I washed them both at 40° and tumble dried on a hot setting as this is likely how I would wash the completed jacket. The linen ended up with a slightly creased look but this didn’t bother me.

Interfacing
Claire gave me three types of interfacing to use.
A lightweight fusible (G710) for the pieces listed under Woven Interfacing: front, under collar and back interfacing.
An ultra lightweight fusible for (G785) for the pieces listed under Knit Interfacing: front facing and upper collar.
A heavyweight canvas interfacing for the plastron piece that was drafted during the workshop. (More details below about the plastron)
She put a pack together with all the interfacing and tapes she recommended for the whole project which was very useful and took a lot of the guesswork out.

Construction
Having done the cutting out and most of the construction at a workshop, I didn't take quite as much time over this as I might have done at home, wanting to progress as far as I could to learn from Claire. This means I wasn't as particular as I might have been, with some of the pieces not quite matching up, and the pockets being a little asymmetric. However, it is more than wearable and it proved how much could be achieved in a relatively short space of time.

Pockets
Having followed Lynda Maynard's technique for lined pockets on the Sienna Jacket, I did the same on this blazer. Claire suggested handstitching them on instead of topstitching for a different look, and to conceal the stitching. I was keen to try this for something different, and also remembering that the pockets on my Sienna had a tendency to shift slightly when machine topstitching even after basting. The process of handstitching was really enjoyable, and I loved the sense of control it gave.
I have a short separate post (2 mins) on the lined pockets.

Plastron
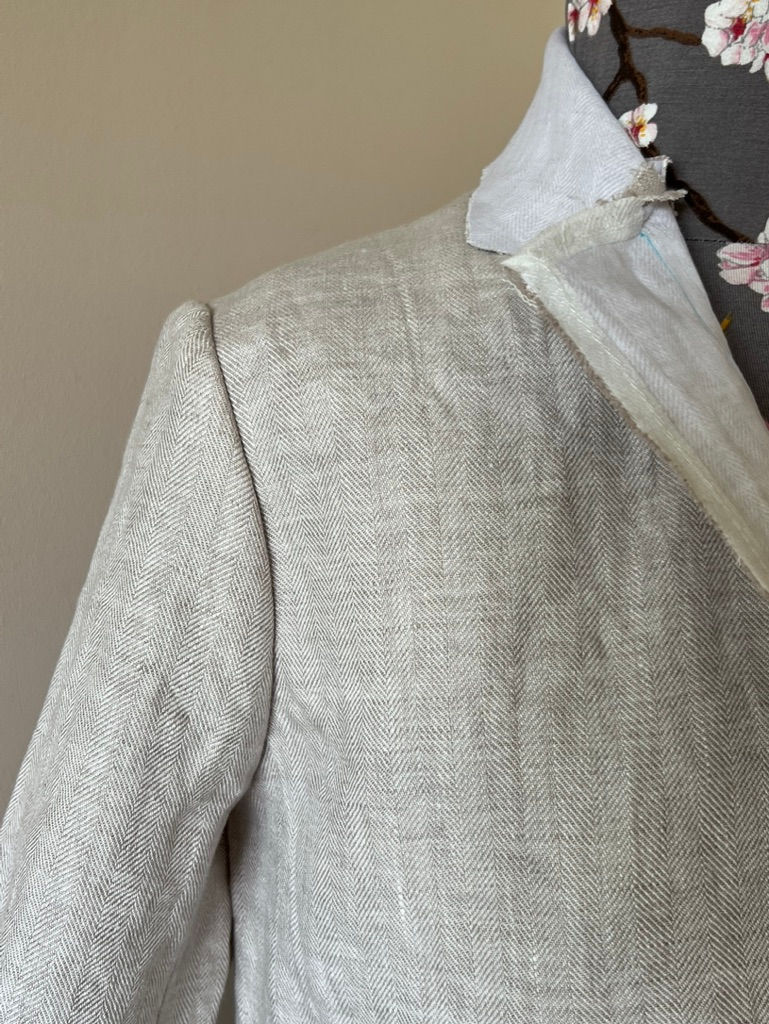
This was a new word to me until I went to this workshop. Claire showed us how to draft a pattern for this piece, used to help create some structure over the shoulder and top of the chest.
We used canvas interfacing and attached it inside the front of the jacket with a larger piece of lightweight interfacing over the top to secure it. It extends under the shoulder seam (shown below stitched to the seam allowance), to give structure to the upper chest and help guard against those heavy handbags :)

Sleeves
When pressing the sleeve, Claire showed us how to create more of a curve to help follow the bend at the elbow where the forearm falls slightly more forwards. You essentially steam it into place and secure it with some tape on the seam allowance.


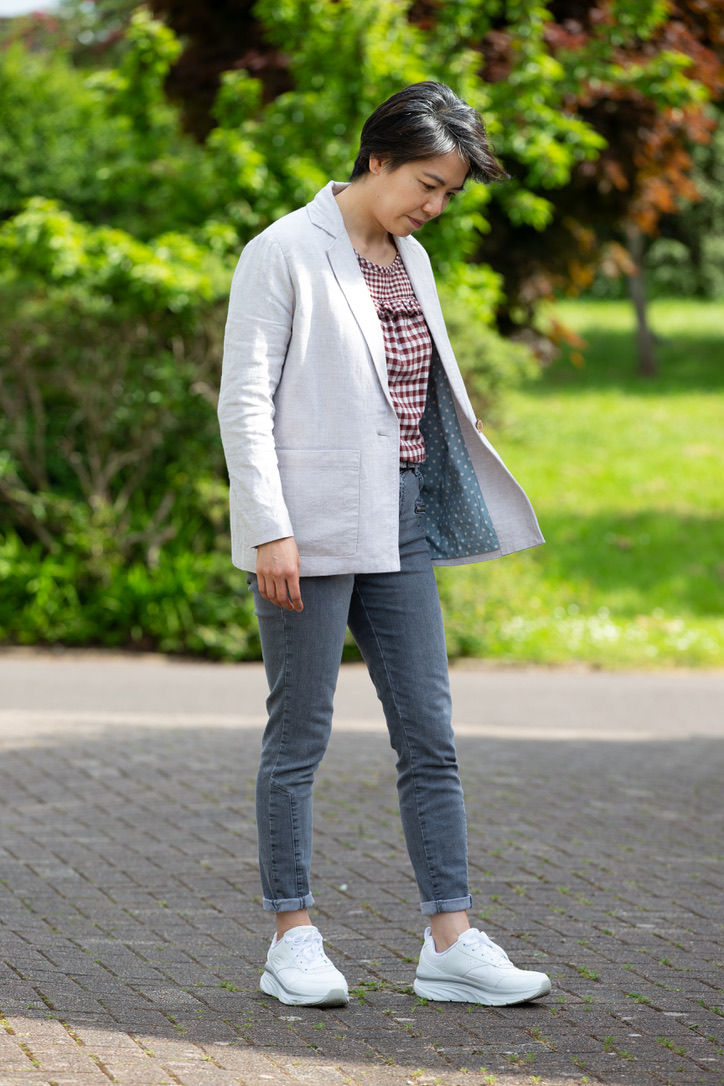
You can see this curve on the finished garment.


Claire recommended using some wadding on the armhole seam to give it a bit of lift. You sew it on like Hong Kong binding around the armhole, except around the underarm, then trim off the excess. This can be seen on the photo of the plastron above.
Initially I liked the look of this, but when fiddling with the fit as explained in my separate post here I decided to remove it. I wondered whether it would look better on a jacket with shoulder pads or a more structured jacket with heavier weight fabric, and so I ended up unpicking this but keeping it in mind for a future project.
Lining
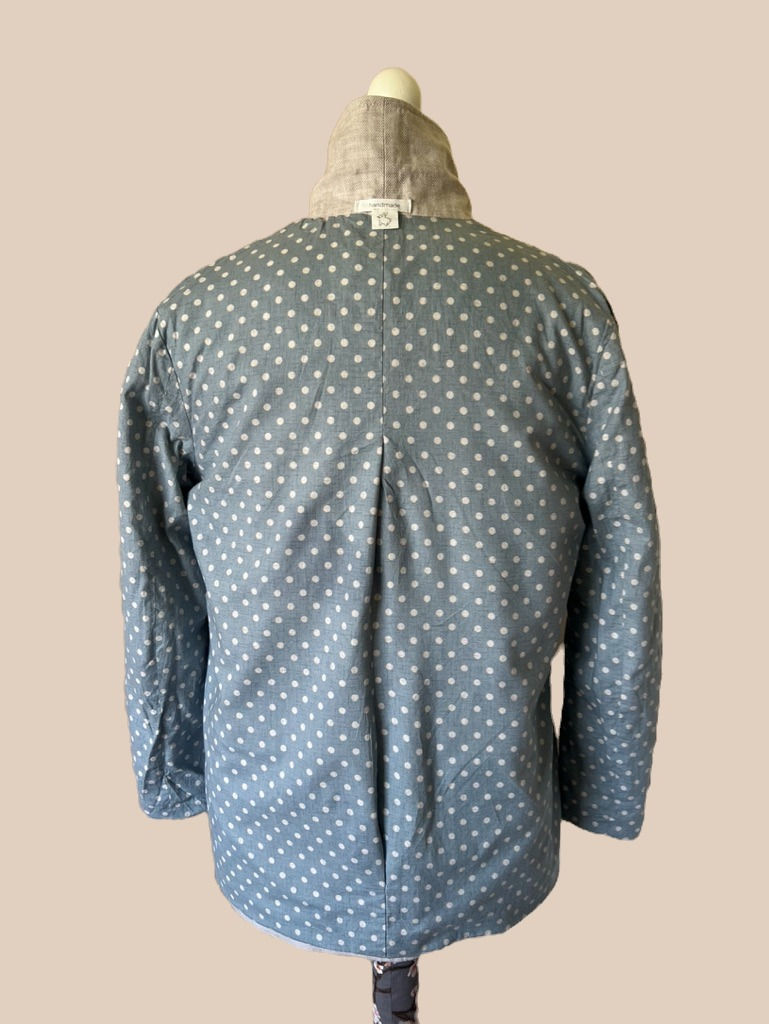
Claire advised putting a pleat into the back of the jacket for wearing ease, adding an additional 4cm here (2cm wide pleat).
Claire’s technique is to line the jacket without bagging it out since she isn’t a fan of that method (neither is Lynda Maynard). This meant changing the steps of construction but thankfully she was on hand to show me, plus I have her video series for reference.

As she suggested, I did a few hand stitches to secure the lining to the jacket to stop it from coming away when pulling your arm out of the sleeve. She did this by hand stitching within the seam allowances at the shoulder and underarm. The entire lining was then handstitched in place at the hems with fell stitch.
Collar
When it was time to sew the main fabric to the lining, I ended up with a tuck on the collar notch. I’d done the same with my Sienna Jacket so unpicked this section as I did with that one. I find this area tricky to sew because there are seam allowances in the way and it relies on absolute precision with cutting, marking the dots and sewing.


After unpicking this section, I decided to hand stitch since this gave me more control, and I was less concerned with how strong the seam is here as it is not under tension.
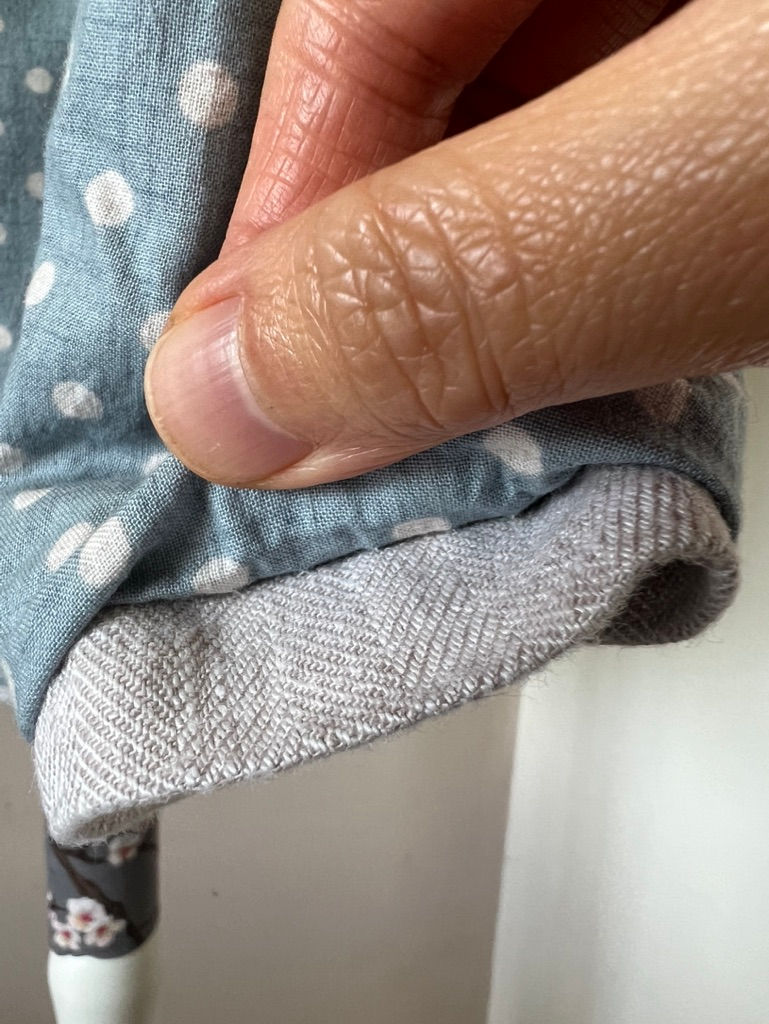
Hems
Claire introduced a new product to me called Perfect Hem tape. It is a double layer of lightweight fusible interfacing with a chainstitch about 1cm from the edge holding the two layers together.


Once the hem is pressed under, you insert this on the underside and fuse into place with the chainstitch closer to the hem edge. The tape is 4cm wide but my sleeve hem was 3.5cm, so I trimmed 0.5cm off the edge away from the chainstitch before pressing it into place. We used the same on the jacket hem.


Buttonhole
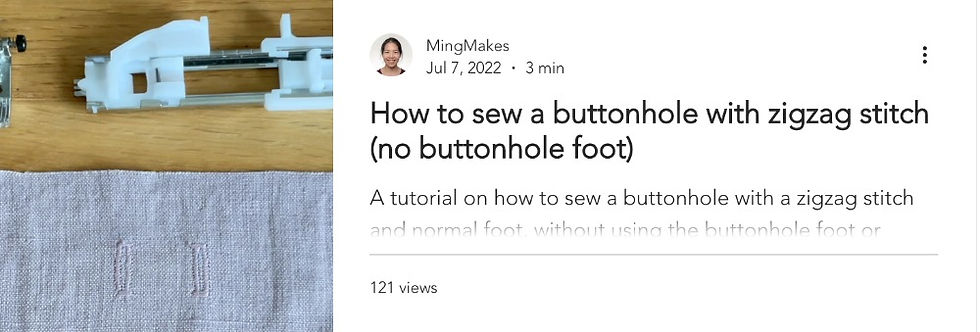
Having got this far, I procrastinated for a while before putting the buttonhole in, feeling nervous that I hadn't done one for months. I decided not to use the automatic buttonhole feature and foot because on occasion it has not completed the stitching all the way to the end and this wasn't something I wanted to risk on the final task. I used a zig zag stitch for more control, using this technique in my blog post (3 mins) to ensure a really neat result. In fact I used the handwheel to stitch the final side to ensure it was straight and left enough room to cut the buttonhole.
I used Fray Check on the edges, and stitched on a coconut shell button to finish. I have often found Fray Check to leave a hard and almost scratchy surface but I found this tip on sewing.patternreview.com where someone suggests using a steam iron over it before it dries. I sandwiched it between muslin just in case to protect the iron and board and it worked well to reduce the hardness.

Here are photos of the blazer from all sides. There was a slight breeze causing the hem to flare out a little more than otherwise.


Summary
Following Claire’s course either in person or with her video course is well worth it. She adds in so much more than the pattern instructions which definitely made for a much better result. I love a lined garment, particularly outerwear so this really fit the bill as a simple place to start. I’m unlikely to sew up another any time soon, largely because you only need so many blazers in your wardrobe and I’d want a variety of styles.

What I love
This blazer fills a gap in my wardrobe
The neutral colour goes with just about anything
The slightly crinkled linen means it looks a bit more casual which makes it more wearable with my existing wardrobe.
The style goes well with many items - jeans / trousers, dresses / skirts, jumpsuits … I can see this being a much worn garment.
Things I'd change
I’m not entirely sure the loose boxy style suits me and I think I’d prefer a more fitted type of blazer. Having said that, I do find myself actually wearing it a lot which I guess is the real test.
There’s something about the combination of my fabric and this style that makes it look quite plain. I have mostly been wearing it with the sleeves turned up showing the polka dot lining to create a bit more interest.
The plastron probably wasn’t so necessary for my fabric, giving my linen a slightly stiffer appearance which maybe didn't fit in so well with the crumpled casual look. I can see it being suited to a blazer in a more structured fabric.
Find me on Instagram, Facebook, YouTube, Bloglovin' or scroll to the bottom to subscribe to my newsletter which is published every month.
Links
I have no affiliations, I'm just a keen buyer and user. A UK supplier may be linked, please try to source items from your favourite independent stores.


Comments