
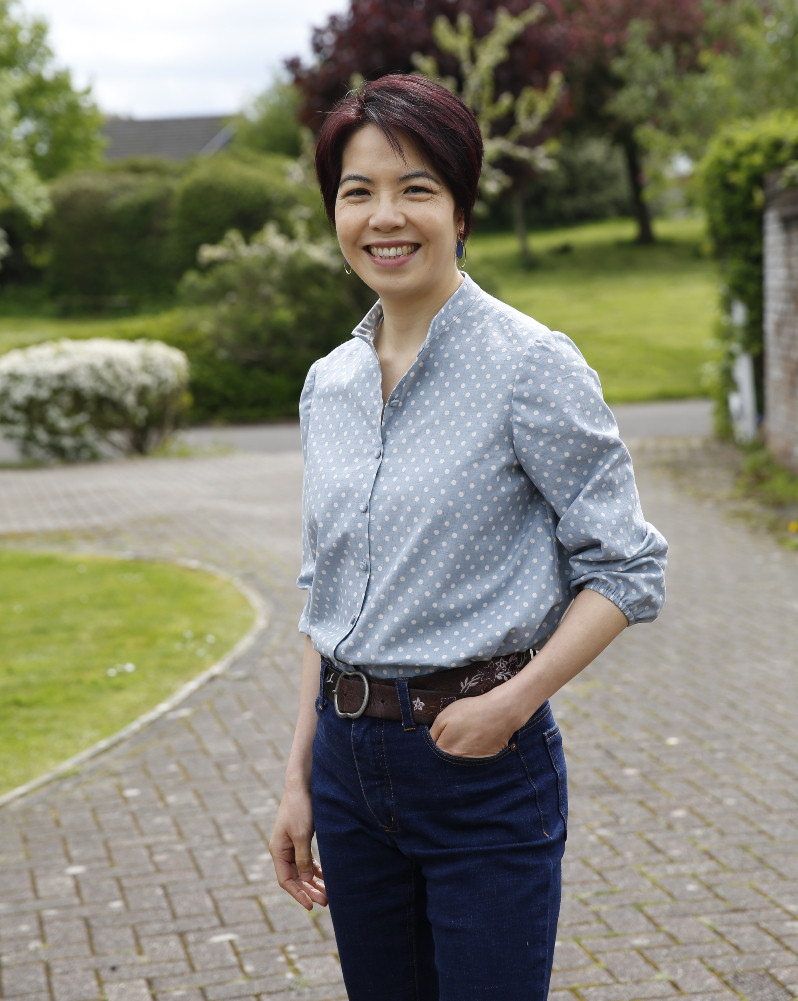
Avid Seamstress Culottes review
- MingMakes

- Nov 24, 2025
- 6 min read

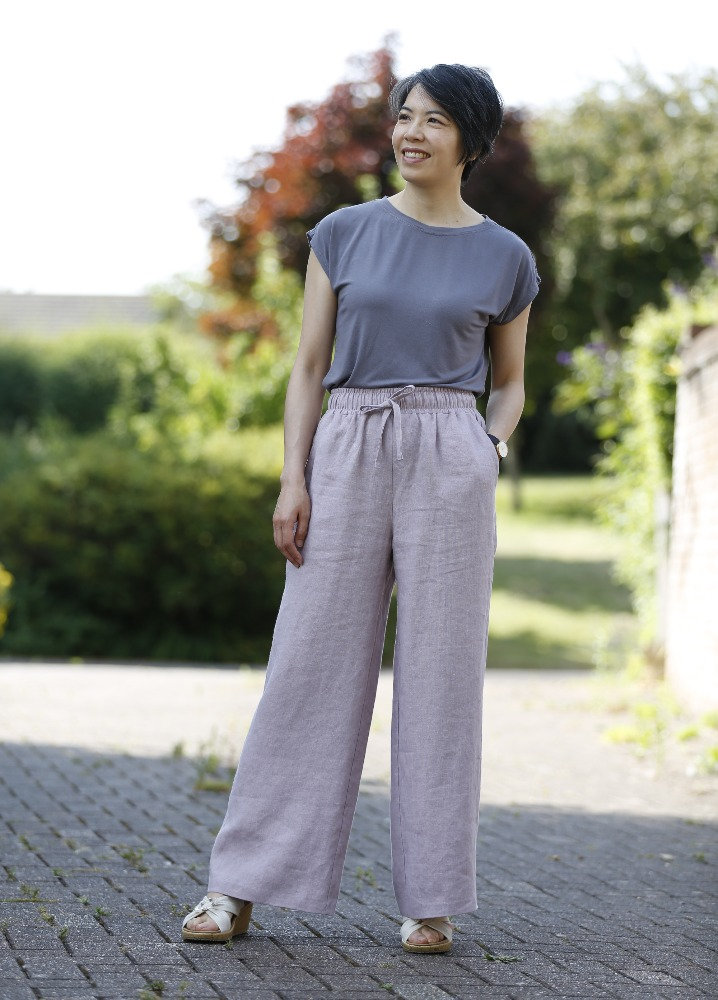
Having been to an Avid Seamstress Creative Spirit Retreat a year ago, I knew it was a very special experience that I wanted to repeat and so I signed up to another. After making The Blouse previously, I decided to make The Culottes on this retreat. I didn't have any culottes in my wardrobe, but they seem such a practical style. These don't have a great deal of flare which I quite liked, resembling more a pair of trousers than a skirt. Not being particularly tall at 5'4", I wasn't sure how the cropped length would suit me, but I could always adjust that once I tried it on.

Fit
I made a basic toile at the retreat of just the front and back pieces to the length of shorts. I made a size 10 based on the chart measurements but when trying this on we found this was too loose around my waist. Lisa suggested sewing the crotch with a wider seam allowance of 1.5 cm instead of 1 cm, which almost followed the size 8 line.
This was better but I still needed to take more out of the waist and so I graded to the size 8 on the front and back side seams, keeping the hips the same. This also meant adjusting the shape of the pocket piece at the side seam. Essentially, I needed the size 8 around the waist and crotch, and size 10 from the hips downwards.
I was pleasantly surprised how well this fitted with only those adjustments. There is a slight dragline on the back which disappears if I pull them up the centreback, so this is something I'd adjust on my next pair. I would also consider taking a tiny bit of width out of the front to remove the small fold either side of the crotch, which I did in fact end up doing on this particular pair. See my fitting post which details adjustments I made to this pair after completion, and what I will change on my next pair.


Fabric
I used a gorgeous ramie linen from Guthrie&Ghani. It is a great weight for this pattern and seems less prone to creasing than pure linen. It feels a bit more substantial than the 185 linen from Merchant & Mills I used for my Saguaro pants, which feels slightly on the lighter weight side for trousers, suitable more for the summer.

Construction
What I really appreciate about The Avid Seamstress patterns is the high level of detail in the instructions, along with tips for precision sewing e.g. advising block fusing the waistband pieces before cutting for more accuracy. I have certainly experienced distortion having cut fabric separate to the interfacing, and then having to recut after fusing if they didn't quite match up. I also like how the seam allowances are printed in bold.
Pockets
The pockets are inserted into the side seam. They are of a good size and the construction is pretty straightforward to follow. The only note I made for myself is step 6 where the top section of the pocket is sewn closed, so that the pocket opening is slightly further down from the waistband.
For my first attempt, I simply sewed it together but when I opened it out, realised that the seam where I had attached the pocket to the side seam was showing.

I unpicked it and pinned the pocket closed with the pins vertically down the side seam, then opened it out to check the seam wouldn't show if I sewed down this line. The closure should be sewn just outside of the seam to conceal it. However the colour of the thread was so close to the fabric that it was hard to see this seam, so I drew a line with a white Prym Aqua Trick marker for me to follow.


Zip
Having just bought a new sewing machine, I hadn't acquired an invisible zip foot by this point, so used a regular one. I moved the needle across and tried to sew as close as I could to the zip feet, but it wasn't quite the result I hoped for. Once I came back from the retreat, I purchased the right foot, and went over the section I could reach without having to unpick anything. This made a big difference.


Waistband
Before completing the waistband, Lisa prompted me to think about how I wanted the bottom edge of the waistband facing to be finished. Options included leaving it overlocked, use Hong Kong binding or to fold it under. If I was at home and taking my time, I might have used Hong Kong binding as I adore how this looks but I decided to go with folding it under.
This was important to have decided by step 33, so I could fold the edge under when attaching it to the zipped section. The photos below show it pinned and then sewn, but on opposite sides.


I was originally tempted to finish it in a way I've done before, by folding up the lower edge, and pinning in the ditch from the right side to ensure I would catch the edge. However, one of the tutors Amanda advised me to just pin the folded edge under first, in a way where I could see I was likely to catch it when sewing in the ditch, but without attaching it to the rest of the trousers yet. She then advised me to baste this folded edge for more accuracy and neatness.

Once basted, I could then pin in the ditch to be really sure I'd catch the edge. I really appreciated this extra tip as it made my folded edge more even than it would have been otherwise. Although my original method would have been quicker, trying to do too much in one step would not have been as neat.

Summary


See my fitting post for how the culottes might look if raising centre back on my next pair.
What I love
I feel the fabric pairing was a perfect match for this pattern, and the colour goes with lots of items in my wardrobe.
I haven't worn culottes much in the past but this pair has changed that. I used to think that the cropped length might be an issue for my height (5'4"), but I just need to experiment with tops to balance out the fullness.
They are super comfortable to wear.
The flat front with pleats gives it a smart look.
What I would change
I would consider moving the zip opening from centre back to the side seam in order to have a smoother look at the back. For more experienced sewers this won't be an issue, but in my hands it's a technique that needs refining. It also feels a little easier to open zips from the side.
One change I'd consider on a future pair would be to make a slanted pocket opening instead of the side seams. This may require me to move the pleats slightly more towards centre front to balance the visual effect of these lines.
I would love to make a version similar to one that Lisa Falconer was wearing on the retreat, where there was flat piping inserted into the side seams, and bound along the edge of slanted pockets (if I remember correctly). I thought this detail really elevated the culottes.
What I discovered
Working under the guidance of experienced tutors including the designer herself makes all the difference in a neat looking final result.
The social aspect of joining a retreat with other enthusiastic and supportive sewers is such a wonderful wholesome experience.
I can make culottes work in my wardrobe :)
I would certainly look to sew more with linen in the future. It handles beautifully and I love the texture.
Find me on Instagram, Facebook, YouTube, Bloglovin' or scroll to the bottom to subscribe to my newsletter which is published every month.
Links
I have no affiliations, I'm just a keen buyer and user. A UK supplier may be linked, please try to source items from your favourite independent stores.


Comments