
Taking in a waistband once sewn
- MingMakes
- Aug 17, 2025
- 4 min read

I signed up to the Alterations, upcycling & clothing repair workshop at Guthrie&Ghani, aware that I had several items that had been unworn for a while in my wardrobe, due to needing an alteration or repair. I often attend workshops to make me dedicate time towards sewing, and projects in this particular category were certainly piling up.
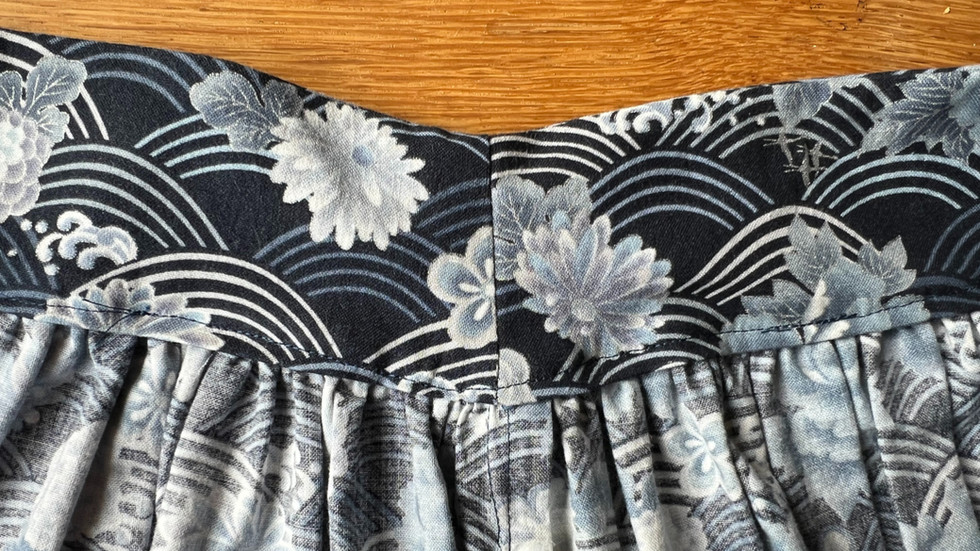
One that I was keen to alter was one of the first garments I made - the Clemence skirt by Tilly and the Buttons, a pattern from her book Love At First Stitch. It is self-drafted using your own measurements, consisting of rectangles.

Somehow I had made an error with either the measurements or seam allowance and it ended up too big around my waist. Whilst it was wearable, it sat lower on my waist so the proportions didn't quite look right on me and I found myself reaching for it less. I had pattern matched the back seam with the invisible zip, and so unpicking this was a no go for me.

I brought it to the workshop, and the very helpful tutor Claire Heath guided me on how to take in the waistband which worked beautifully. Essentially we sewed a dart at each of the side seams. Here are the steps we took.
Pin out the excess
I tried on the skirt and Claire pinned out the excess. This ended up being 4cm on each side at the top of the waistband, reducing to 2.5cm at the bottom of the waistband.
Unpick the stitching in the ditch
The waistband was one piece all the way round to the back, and so we effectively created a side seam in the waistband with the alteration, to match that of the skirt. I unpicked the stitching in the ditch that secured the waistband facing, in a long section either side of the side seams indicated by the curved arrow in the photo below.

Open up the waistband and pin the dart
I opened up the waistband so we could create the dart. The side seam was French seamed and so this required a little unpicking so we could fold the dart properly.

We folded the waistband back on itself, with right sides together to create the dart. Claire drew a stitching line to match the excess, so from the side seam this was 2cm (half of 4cm) at the top of the waistband and 1.25cm (half of 2.5cm) at the bottom of the waistband. She then continued this line down, blending into the side seam above the pocket so as not to change anything with that.

After sewing the first side, I realised I hadn't ensured that the two sides of the dart would meet up together at the seams, which meant that the seam at the top of the waistband between the outer band and the facing were off. For my second attempt, I pinned through these seams to secure them in the correct place whilst sewing.

Sew the dart
I sewed down the marked line, blending into the original side seam before the top of the pocket.

This view from the right side shows the correct intersection of seams having used the horizontal pins across the top and bottom of the waistband.

Resecure the waistband by stitching in the ditch
I pinned through the ditch from the right side to ensure I would catch the waistband facing, and then stitched this in place.
Repeat on the other side
I laid one side on top of the other to copy across the stitch line to make the symmetrical adjustment on the other side seam, and here is the finished result.


What I discovered
This was a fantastic workshop in gaining ideas of how to do alterations. My first thought was to perhaps sew a pleat at each of the side seams, but this is a much neater solution than anything I could come up with. It was a relatively simple process, but has changed how I view this garment now.
Due to the long learning process of sewing, many of my makes (and indeed RTW items) have some aspect about them that stops me reaching for them as often as I'd like, whether it be the fit or style. That was certainly true of this skirt, but I adore this fabric and so it felt disappointing not to wear it as much.
It has regained its position as one of my go-to items and has prompted me to think about other items I've sewn. Altering a garment doesn't hold the same excitement for me as embarking on a new make, but the result is almost the same - an item that gets worn often, with love and pride. Perhaps it is worth investing this small amount of time to make a pre-loved garment feel like new.
Find me on Instagram, Facebook, YouTube, Bloglovin' or scroll to the bottom to subscribe to my newsletter which is published every month.
Links
I have no affiliations, I'm just a keen buyer and user. A UK supplier may be linked, please try to source items from your favourite independent stores.


